Tuesday, May 19, 2015

Super Easy Weeknight Dinner Anyone?

If you are anything like me, you are always on the look out for a quick and easy "go to" meal for weeknight dinners.  Since adding another wee baby to our clan, going out to dinner sometimes doesn't come with as much convince as it once did.  That plus trying to get back in shape and eat healthier to loose said baby weight has put cooking dinner every night back up high on the priority list. 

Here's my problem.  I have culinary ADD.  I always want to try something new.  Sure, I have a few go tos in my back pocket, but I find that I only go back to them when the hubs requests them.  Why?  I get bored easily.  I've never been one of those people who can eat the same things over and over again...probably one of the reasons dieting and me don't exactly see eye to eye.  I crave variety and love trying new things.  Would it be too much to ask to find a simple recipe where the ingredients could be easily exchanged so was really never the same thing twice?

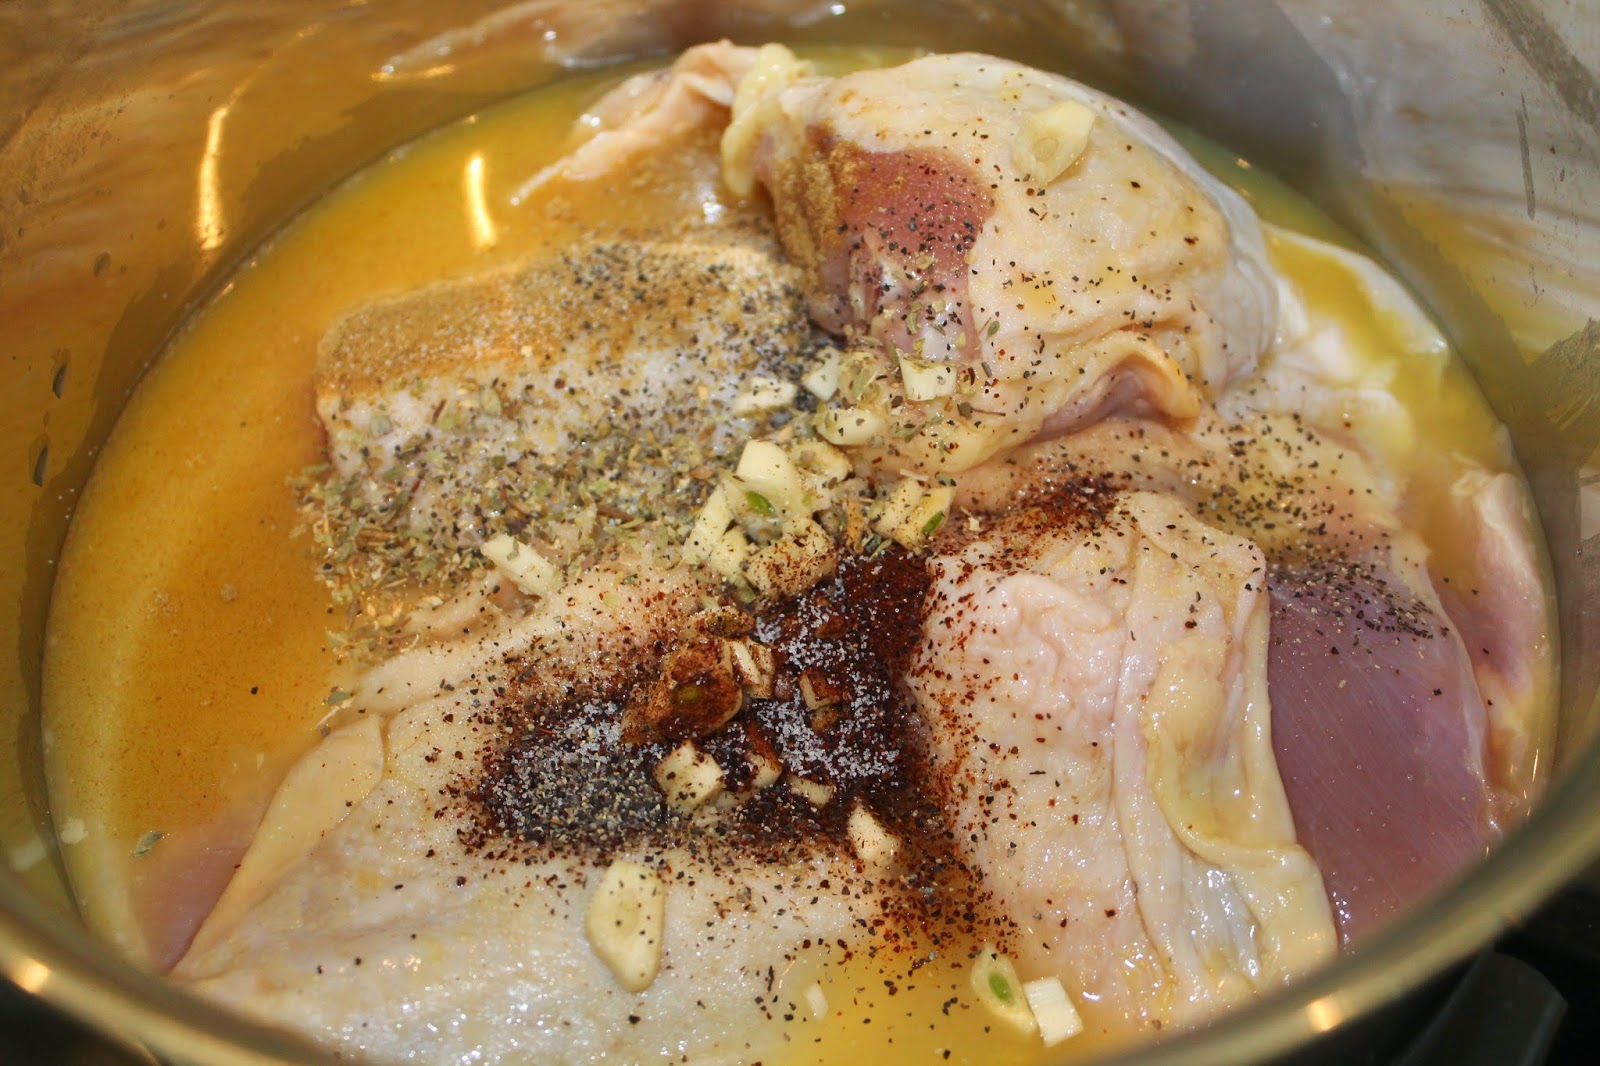
For the longest time I thought this would be an impossible thing to find.  In fact when I made dinner last night, I didn't even know I had stumbled upon such a unicorn of a recipe until the hubs said something brilliant in the middle of dinner.  More on that in a minute.  Here's what we started with...

A few weeks back, I stumbled upon this recipe on Pinterest.  Dear God, what did we do before Pinterest!

From Life in the Lofthouse
I fell in love with the idea behind these wraps.  One of my favorite things in the world is a good burger.  This seemed like a healthier spin on a burger without going to far away from the original.  Quick and easy too...so I decided to make them for dinner last night.

Something happened in our house around 4pm yesterday.  Someone came in, took our two darling girls away and replaced them with a nagging 4 year old and a screaming baby.  This ever happened to you?  I was attempting to get some cupcakes and a cake done for an upcoming order when all hell broke loose.  Combined with the fact that I had been up with the baby since 4:30 that morning, and the temptation to let Papa John rescue dinner was very real.  But I was determined.

The original recipe is super easy and, I'm sure, extremely delicious.  However, in the midst of everything that was going on, I decided to take the idea and "wing" it.  I knew if this dinner was going to happen, everything needed to happen at one time.  So here's what I used.

Crazy Night Cheeseburger Wraps
1 lb hamburger
20ish grape tomatoes; quartered
4ish sandwich dill pickle slices; diced
2 T Worcestershire sauce
2 T yellow mustard
salt and pepper
flour tortillas
shredded cheese

1 - Brown hamburger, drain and return to pan.
2 - Add cut up tomatoes, pickles, Worcestershire, mustard, salt and pepper.  Cook over heat until all the ingredients are heated through.
3 - Put about a half a cup of filling onto a flour tortilla.  Sprinkle with cheese.
4 - Roll up into wrap form and grill.  I did it on our George Forman, about 2-3 minutes until nice and browned.  I'm sure this could be done on a real grill or even in a pan on the stove, but I needed something I could walk away from for a few minutes to chase around a cranky toddler.
5 - I served them with tater tots and for a few blissful moments, there was quiet in the house which is always a good sign that the food is good.

In the midst of all of the chaos, I came up with the ingredients simply thinking what I like to what I like to eat on a cheeseburger and throwing that into the pan with the cooked hamburger meat.  Here is where the genius to this recipe comes into play.  Whatever you like on your burger...throw it in with cooked hamburger meat and you have a whole new meal.  Brilliant! 

I fell more in love with this recipe when my husband broke the silence during dinner by saying, "You know this would be good with anything, chicken...steak...pork, I'd eat it every day."  That's when it hit me.  We always have meat...we always have fixins (other stuff) in the fridge...and (in our house at least) we always have tortillas.  Praise heaven above I have found a go to recipe that really CAN be different every time I make it without much forethought or planning.  Hallelujah!

I thought my obsession with this recipe would stop at dinner...but I was wrong.  In my scatterbrained fog, I put all the leftovers (tater tots and all) in the same container after dinner was over.  This morning, after a better night of sleep, I had an epiphany.  In one little Tupperware containers I have potatoes, meat and veggies.  Sounds like all the makings of a good breakfast casserole.  I started by putting some of the meat mixture and tater tots in a saute pan, breaking up the tater tots to be more "hashbrown" like.

After getting a little crisp on the potatoes, I cracked two eggs over the whole thing.
I seasoned this with a little salt and pepper and ended up with a quick, yummy breakfast scramble all in the span of time it took to brew my morning coffee.
Quick and healthy dinner with leftovers that make a quick and healthy breakfast.  Holly from Life in the Lofthouse, I know we've never met, but I love you...and I love this recipe!  Try it, you will love it too!!


Friday, May 15, 2015

Thank You Teachers!!

For seven years before I entered the culinary world, I was a teacher.  Having lived the life of a teacher for that time, I can say there is no other job out there that is more important, more challenging and more under appreciated than that of a teacher.  Not to say that other jobs aren't difficult, but at least the majority of jobs out there that are difficult are also very well respected.  Overall, teachers are underpaid, over worked and not looked at with the regard in this country that they deserve.  There is constant talk on the news about how teachers "have it made" since they get off at 3 and have the summers off.  After all, all they do is "play with kids" all day.  They may as well be considered "glorified babysitters".  None of these misconceptions are true.  Most teachers I know work at least 10-12 hours a day, making little more than minimum wage when you do the actual math, and spend countless dollars out of their own pockets to make sure their "kids" have everything they need.  What other profession out there is "expected" to work like that?  Ok...stepping off soap box.

Last week was "Teacher Appreciation Week".  While one week is not nearly enough time to show appreciation for the selfless work teachers do on a daily basis, I'm glad to shower my daughter's teacher with lots of goodies!  This time around, I was chosen to provide all the teacher's at my daughter's school with a wonderful lunch in their honor. 

For starters, I made a lovely spinach salad.  Since strawberries are at their peak right now, I added sliced of those along with some brie cheese, candied pecans, celery, red onion and cucumber.  I cheated a little and served it with a slightly warmed Ken's Light Poppy Seed dressing.  If you haven't had this salad dressing before, do yourself the favor!  You could really tip and back and drink it...at least I could...and hey, if it ain't broke right?

 
The colors were so beautiful, and everything was light and fresh.  Just what I love in a good salad.  Simple, beautiful ingredients.
 
For the main course, I made a Chicken Penne Pasta with Roasted Vegetables and Fresh Tomato Sauce.  People get a little turned off by the thought of making their own tomato sauce, but in this case, it doesn't require any additional time that you wouldn't already be cooking, so why not?
 

I used one each of the following vegetables: zucchini, green pepper, red pepper, orange pepper, red onion and one large package of button tomatoes.  I diced all the vegetables and threw them in a roasting pan with a few tablespoons of olive oil, balsamic vinegar, 6 cloves of garlic (sliced), a handful of fresh thyme sprigs, salt and pepper.  On a separate roasting pan I placed 12 roma tomatoes (quartered), 6 cloves of garlic (crushed), a handful of fresh thyme sprigs, a handful of basil leaves, salt and pepper.  I put both roasting pans in the oven at 350 degrees and roasted them for 25 minutes.  Once done, remove the thyme sprigs from both pans and discard.  Add the remaining contents of the tomato pan to a food processor and process until smooth.  If needed, thin with a little bit of chicken stock.  This will be your sauce.

Cook your penne pasta to al dente and saute chicken in a pan with olive oil and a little salt and pepper.  Once the chicken and pasta are done, dice the chicken and throw everything (sauce too) in the roasting pan with the vegetables.  Mix together well and put back in the oven at 350 for 10-15 minutes to make sure everything is nice and warm.  Viola!

For dessert, I made a marble cheesecake.  How did I choose this dessert?  Well, my daughter's teacher said her favorite dessert was chocolate or cheesecake...so I mixed the two.  I LOVE the way it came out!  Absolutely gorgeous!
Marble Cheesecake (recipe adapted from Gordon Ramsey)

2 c graham crackers
6 T butter; melted
4 1/2 oz dark chocolate; roughly chopped
1 1/4 c sugar
1 1/2 c sour cream; room temperature
2 pounds cream cheese; room temperature
3 eggs; room temperature
1 1/2 tsp vanilla extract

1 - Line a 12x8 inch pan with plastic wrap overlapping the plastic wrap so that it is at least halfway down the outside of the pan.  Tuck under so it won't be touching the racks when placed inside the oven.
2 - Crush graham crackers in food process.  Add melted butter and pulse until the mixture holds it shape when you squeeze it in your hand.  Add more butter if too dry or more cracker if too wet.  Pour out mixture into prepared pan and flatten to form the crust.  Bake at 325 degrees for 5-10 minutes, or just until you begin to smell the graham crackers cooking.  Remove from oven and allow to cool slightly.
3 - In the bowl of a mixer with paddle, beat together sugar, sour cream and cream cheese until smooth.  Add eggs one at a time, making sure each is incorporated before adding the next.  Beat in vanilla extract.  Pour batter over slightly cooled crust and tap lightly to remove air bubbles.
4 - Melt the chocolate over a double boiler or carefully in the microwave.  Swirl the chocolate over the cheesecake.
5 - Cook the cheesecake in a water bath at 275 degrees for 40-50 minutes until it is just slightly wobbly in the center.  Turn off your oven but keep your cheesecake in the oven (and water bath) for another 2 hours.  Remove cheesecake from oven and out of water bath and allow to cool in the refrigerator overnight.
 
Along with the lunch, here are some other goodies I did for teacher's last week!
Red Wine Fudge Balls anyone?
Teacher Appreciation basket full of all kinds of goodies!
Beach themed strawberry cupcakes since our teachers are "lifesavers"!
 
I've said it before and I'll say it again.  One week is defiantly not enough time to show appreciation for our teachers, but it's a start.  So THANK YOU teachers near and far for molding the minds of our young and treating them like one of your own.  Special thanks to Mrs. Laura, my little one's teacher.  You have been a wonderful blessing to her and our family this year. She has learned so much from you, and it has been amazing to watch her grow.  You are kind, caring, patient yet firm, everything our little girl needs.  We love you to pieces and hope you enjoyed your week!!
 

Thursday, May 7, 2015

Cinco de Mayo!

Next to Thanksgiving, Cinco de Mayo is probably the hubs favorite day of the year.  If he could, he would eat Mexican food everyday.  I can't even begin to tell you how excited he was that Mexican food was my big craving when I was pregnant with our little peanut.  It was like Christmas to him whenever I asked if it would be okay if we had Mexican...for the third time in a week.  So when May 5 rolls around, he gets pretty excited at what I'm going to cook up for dinner.

We used to go out to eat on Cinco de Mayo...USED to.  Now with two kids, standing in long lines and big crowds for tacos and tequila shots just isn't in the cards anymore.  Fine by me.  I would rather be able to stay in my yoga pants anyway.

This year the menu was set with a few ole favorites and a new little gem.  Chicken carnitas tacos (or rice bowl in my case), Spanish rice, corn salsa and southwestern eggrolls with avocado cream dipping sauce.  I was pretty stoked to get back in the kitchen and cook an entire dinner since most of my dinners since the peanut was born have consisted of reheating freezer meals and most of my time in the kitchen had been consumed in baking projects.  Not that I'm complaining, but it's always nice to get to "just cook" once in a while!  Of course, things didn't really do as planned.

Tuesday was pretty rough in our house.  The little peanut had a rough night on Monday which typically translates to an easy day...not the case.  When she wasn't attached to me, she was crying.  It's pretty impossible to get anything done when your trying to calm a screaming baby, so I was pretty thankful that one of the items on the menu was done mostly in the crockpot...until I looked at the clock and saw it was almost 4 already and there was no longer time to slow cook my chicken for 6 hours in the crock pot.  Ok...backup plan.

I took the same ingredients that were supposed to go into my crock pot and put everything in a pot on the stove, threw the cover on and put it over medium heat.  Once things got going, I reduced the heat to low and let it cook for about 1 1/2 hours.  Not quite the "low and slow" I was hoping for, but it worked in a pinch!

Chicken Carnitas (adapted from Closet Cooking)
1 1/2 lbs chicken thighs
3/4 c orange juice
1/4 c lime juice
6 garlic cloves; sliced
1 T chili powder
1 tsp cumin
1 tsp oregano
1/2 tsp salt
1/2 tsp pepper

1 - Place chicken in a crock pot.  Add remaining ingredients and stir to combine and cover chicken.  Cover the crock pot and cook on low for 6-8 hours.  (Or if you run short on time, cook like I did above)
2 - Remove chicken from crock pot and shred.  Put 1/2 cup juice from the crock pot onto a baking sheet, add chicken and toss to coat.  Bake chicken at 425 for 7-8 mins until the edges are nice and crisp.  Don't skip this step!  It definitely adds another element to your chicken!!


I made some Spanish rice to go along with the chicken and had a nice little meal.  The hubs made tacos out of the chicken and corn salsa, but I was just as happy making a little rice bowl with all the ingredients.  Super yummy!

The next big menu item was Southwestern eggrolls.  You want to know the way to my hubby's heart...it's eggrolls.  Southwestern may be his favorite, due to his affection with all Mexican fare, but throw anything into an eggroll wrapper and he's a happy fellow.

Since I'm trying to be healthier these days in an effort to loose the baby weight, I decided to try a recipe that had the eggrolls being baked, not fried.  That was a huge fail!  After baking the eggrolls just as the recipe had stated, they were still limp and not crisping at all.  Definitely NOT something you want in an eggroll.  Thankfully, a quick pan fry saved the day and we ended up with these beauties.
Since every recipe I've ever found for any kind of eggroll provides you with more filling than you ever need, I put half the filling in the eggrolls and took the other half of the filling (sans cheese) to use as corn salsa.  One recipe, two menu items!  Done and done!

Southwestern Eggrolls (adapted from Nutritious Eats)
(This is the full recipe and will make about 20 eggrolls.  If you don't need that many, either cut the recipe in half or save half of the filling for a yummy salsa.)

2 c frozen corn; thawed
15 oz can blak beans; rinsed, drained
1 c Mexican cheese blend; shredded
1 can Rotel
1 large green onion; chopped
1/ c fresh cilantro; chopped
1 tsp cumin
1/2 tsp chili powder
1 tsp salt
1/2 tsp pepper
egg roll wrappers

1 - Combine corn through pepper in a small bowl and mix well.  Use about 1/4 c of filling per eggroll wrapper.  Roll eggrolls as directed on the package, using a little water to insure you get a nice, tight seal.
2 - Heat 1 inch oil in a pan to about 350.  Pan fry eggrolls for 3-4 minutes per side until nice and golden brown.

Avocado Dipping Sauce (adapted from Bobby Dean)
1 avocado; ripe
1/2 c sour cream
1 lime; juiced
salt and pepper to taste

1 - Place avocado, sour cream and lime juice in a food processor and process until smooth.  Season to taste with salt and pepper.

Of course, we had a margarita...or two...to wash everything down and our Mexican fiesta was a success! 

Wednesday, May 6, 2015

Following a Four Year Old (My Little One's First Post)

Recently, my oldest has been full of dessert ideas.  Almost every day on the way home from school, she talks about something.  Usually it's what kind of cake she wants for her birthday...in August.  Guess she's going to be a planner just like me.  She's also been throwing out cake ideas for other events she knows we have coming up.  My grandfather is turning 85 in June, and we are all flying out for his birthday.  If it were up to her, his cake would be a layer of cookies, a layer of chocolate, a layer of strawberry, sprinkles and more cookies.  We'll see what we can do...

Yesterday, however, she got set on one idea that she wanted to make when we got home.  This is 100% her idea, executed exactly the way she wanted...with a little guidance by me.  It wasn't something I had ever heard of before, and I'm not sure where the idea came from, but since I'm always up to experiment...and I was super excited that she was being so creative...we came home and cooked...a Sweet Tea Pie.

What's a sweet tea pie you ask?  A four year olds first creation.  I have to admit that the idea sounded pretty good.  After all, we do live in the south.  Who doesn't love a good glass of sweet tea?  For that matter, who doesn't like pie?!?  Win, win.  First we made the crust.
She insisted on doing everything herself.  So here she is cutting the butter for the pie crust into cubes.  I'm still working on getting her to hold the knife better...which is why I don't let her use a "real" one yet.
She even rolled the dough out herself.  I loved seeing how focused she was.  Definitely took her work seriously!

For the "sweet tea" part, I fell back on a trusty recipe I have for an earl gray custard.  Since black tea would probably have been a little strong for her taste, I used plan ole Lipton instead.  What better way to get sweet tea flavor than to use the tea you make sweet tea with!  Here's that recipe:

Lipton Tea Custard - adapted from Martha Stewart
1 c heavy cream
1 c milk
2 T Lipton tea (about 1 large tea bag)
4 egg yolks
1/2 c sugar
pinch salt

1 - Heat cream and milk in a saucepan over medium heat until simmering.  Add tea, stir and remove from heat.  Cover and let steep for 30 mins.  Remove tea bag, squeezing out the juices.  Re-measure the remaining liquid and add more cream if needed so you have 2 cups.  Return cream and milk to the saucepan and place back over medium heat.
2 - In a small bowl, whisk together yolks, sugar and salt.  Once milk is steaming, slowly whisk into egg mixture.  Pour entire mixture back into saucepan and bring to a boil, stirring constantly.  Strain into a bowl and put into the refrigerator to chill.

Once the pie shell had been blind baked and cooled, she got to work on filling it.
All good pies need berries!  She selected blueberries and strawberries for this creation.  She filled her pie shell with custard and topped it with the berries she cut.  There were also a few peanuts thrown in there since ever good pastry chef knows you need a little crunch. 
I must say I was impressed with her skills right out of the gate.  If she keeps up this way I may loose my job to her by the time she's five!

We put her pie in the refrigerator to finish setting up.  She was super excited to enjoy it for dessert after dinner!  The look on her face was priceless when she brought out her final project to show everyone.  I wish I had a picture of it, but I had a baby attached to me at the time...and missed it...oh well, next time!

In the end, it was a pretty good little pie.  With a few tweaks here and there, I think we may have stumbled onto the next great pie flavor.  What do you think?


Tuesday, May 5, 2015

Cooking for a Cause

This past Saturday I had the pleasure of being the pastry chef for a very special dinner.  My good friend and fellow chef Paul Johnson is going on a mission trip with his family and church to Moldova this summer.  To help raise money for the trip, he auctioned off his services in the form of a five course meal for six people.  The auction ended at $600!  The night turned out wonderful with great food and the chance to get in the kitchen cooking for such a wonderful cause!  Check out the wonderful creations we made!

Chefs for the night: Me, Paul Johnson and Kristen Beasley
Sous chef Kristen plating the amuse bouche
Amuse Bouche: Gouda stone ground grits with rendered pork belly and bourbon glazed apples
 
First Course: Market salad with heirloom tomatoes and carrots, shaved golden and red beets, radishes, and blood orange vinaigrette
Second Course: Tuna and avacado tartare with soft-boiled quail eggs, wonton crisps, radish sprouts, and pickled ginger
Chef Paul plating the fish course
Third Course: Poached Chilean sea bass with roasted corn citrus salsa, charred leeks, and bouillabaise foam
Fourth Course: Reverse-seared North Carolina bison with black garlic risotta, asparagus puree, sauteed baby carrots, and Merlot wine reduction
That's me plating up dessert!
Dessert: Chocolate mousse and caramel jelly cake, almond financier, cherry-Port compote, Port reduction, and sour cream ice cream
Mignardise: Strawberries and cream with toasted hazelnuts
Our happy diners!

Hope you enjoyed the feast for your eyes!